Repair Wood Siding – When to Fix, Patch, or Replace It
Wood siding tends to hide its worst problems.
By the time a crack or soft spot shows up on the surface, water has usually already made its way behind the board and into the sheathing. The good news is that catching it at the right stage usually means a simpler fix.
In most cases, repairing wood siding means stopping the moisture source, patching cracks or holes with exterior filler or epoxy, and sealing the area properly. But if the board is soft, rotten, warped, or no longer sound, replacement is the safer move.
Either way, the repair should match the existing profile, include a sheathing check, and finish with primer and paint so water stays out.
Key takeaways:
- Surface cracks and minor holes can be patched. But soft, crumbling, or rotten wood means the board needs to come off.
- Repainting over damage is not a fix. The moisture source behind it needs to be addressed or the problem will come back.
- Once the damaged board is off, check the sheathing behind it. Soft or discolored substrate needs to be dealt with before anything new goes up.
- Use the old board as a template when sourcing the replacement. It’s the easiest way to match the profile, thickness, and exposure of the existing siding.
- Homes built before 1978 may have lead paint. Therefore, scraping, sanding, or cutting through painted surfaces may require lead-safe work practices.
That said, the tricky part is that two boards can look almost identical from the outside and need completely different fixes.
Let’s explain how to tell the difference and what to do once you know.
Free Guide for Homeowners
2026 SIDING MATERIAL GUIDE
Learn how smart homeowners balance aesthetics, durability, and budget to choose the perfect exterior shield that withstands New England’s toughest weather.
Repair Wood Siding vs Replace Wood Siding: Which Is Better?
The answer depends on two things: (1) how far the damage has spread, and (2) whether the moisture problem behind it has been resolved. The main considerations are to:
| Repair when… | Replace when… |
| Damage is small and localized | The board is soft, crumbling, or warped |
| Surrounding wood is firm and dry | Rot keeps returning after previous repairs |
| The moisture source has been fixed | Multiple walls are showing damage |
| The board still holds its shape | The siding is nearing end of service life |
And in general, if a patch or a board swap doesn’t solve the problem, you’re likely looking at partial or full siding replacement. After that, repairs often cost more than replacing.
What Wood Siding Damage Can You Repair, and When Do You Need Replacement?
Not every damaged board needs to come off the wall. The decision comes down to how deep the damage goes and whether the wood underneath is still structurally sound.
Small, localized damage can be patched. Hairline cracks, open seams, minor surface holes, and early soft spots that have not yet turned spongy are all good candidates for exterior filler or epoxy repair. These minor issues mean the surrounding wood is still firm and the problem has not spread beyond the surface.
In this case, you can just patch it, prime it, paint it, and the repair can last for years.
However, replacing the siding is the right call when the board itself is no longer sound. For example, soft, crumbling, or shrunken wood means moisture has been sitting in there long enough to break down the fibers.
This usually means warped boards, moisture damage, and some degree of flexing when you press it. This scenario likely requires replacement altogether.
There is also a third scenario worth knowing about:
Sometimes a board looks like it just needs to be swapped out, but once it comes off the wall, the sheathing behind it is soft and water damaged too. When that happens, the damaged sheathing needs to be replaced before the new siding board goes on.
How Do You Inspect Wood Siding for Rot, Dry Rot, and Hidden Damage?
Before any repair work starts, you need to know what you are actually dealing with. A visual scan from the yard catches the obvious problems, but a proper inspection gets a little more hands-on than that.
Start by walking the perimeter and looking for:
- Peeling or bubbling paint
- Discoloration or dark staining around joints and seams
- Boards that are warped or pulling away from the wall
- Wood that looks shrunken or darker than the surrounding areas
Pay close attention near windows, trim lines, roof-wall intersections, gutters, and anywhere the siding runs close to grade. Those are the spots where water tends to linger.
From there, use a screwdriver to probe anything suspicious. Push the tip into the wood, and if it resists, the board is still good. But if it sinks in easily or the wood feels soft, punky, or crumbling, rot has likely set in. Ensure you work along the full length of the board, and not just the spot that caught your eye.
Tapping the wood helps as well. A firm, consistent tapping sound means the board is solid. A hollow or dull thud points to decay, which is common with dry rot siding.
Finally, once a damaged board comes off, check the sheathing behind it before anything new goes up. Fixing your siding over hidden damage is how a small repair turns into a much larger one.
Note that termite activity can leave similar surface signs. If you see any channels or mud tubes, that’s a pest issue and needs a termite professional before any siding work continues.
How to Repair Wood Siding for Cracks, Holes, and Small Soft Spots
If the board is still solid, minor damage like this is easy to repair. This approach works for small cracks, shallow holes, and early soft spots in particular:
- Clean the area: Remove loose or peeling paint with a putty knife, and clear out any soft or deteriorated wood from the affected and surrounding areas.
- Apply wood hardener if needed: If the surrounding wood feels slightly soft but isn’t fully compromised, apply a penetrating wood hardener and let it cure fully before moving on.
- Fill and sand: Pack exterior‑grade wood filler or two‑part epoxy slightly above the surface, let it cure, then sand smooth and flush.
- Prime before painting: Bare wood and repaired areas need primer first. Skipping it is one of the more common reasons these repairs fail within a season or two.
What Is the Best Filler for Exterior Wood Siding?
For small repairs, exterior-grade wood filler or two-part epoxy are the top choices. Epoxy holds up better in wet and freeze-thaw conditions and will not shrink or crack the way standard fillers can over time.
What filler cannot do is compensate for widespread rot or a board that has broken down too far. If the wood around the affected area is too soft, the right fix is replacement, not more filler.
Free Guide for Homeowners
2026 SIDING MATERIAL GUIDE
Learn how smart homeowners balance aesthetics, durability, and budget to choose the perfect exterior shield that withstands New England’s toughest weather.
How to Fix Rotten Wood Siding by Replacing a Damaged Board
When the board is soft or no longer holding its shape, replacement is more reliable. Done correctly, a single board swap is straightforward and nearly invisible once it is primed and painted.
Here’s how to do it:
- Score the paint line along the top and bottom edges with a utility knife before removing anything.
- Pry the board off carefully with a flat pry bar, without disturbing the existing siding around it.
- Inspect the sheathing for soft spots, discoloration, or moisture damage. If the substrate is compromised, address it before anything else.
- Use the old board as a template. Measure and cut the replacement piece to match the profile, thickness, and exposure of the existing siding.
- Fasten with stainless steel or hot‑dipped galvanized nails into the framing, and set them flush without overdriving.
- Seal the butt joints at each end and anywhere the board meets trim.
- Prime all bare wood before painting, including the replacement piece and any affected area nearby.
How Do You Match a Replacement Piece to the Existing Siding?
Take the damaged board with you when sourcing the replacement. Match the thickness, profile, and visible exposure as closely as you can. For common profiles like clapboard or beveled siding, most lumber yards will carry something close.
For older or less common profiles, a specialty lumber yard or millwork shop is worth the call.
If an exact match isn’t available, a contractor experienced in wood siding repair will often know where to source it or how to make a close profile blend with the existing siding.
How Much Does Wood Siding Repair Cost, and When Should You Call a Pro?
Angi’s national data puts wood siding repair at roughly $1 to $30 per square foot, with an average around $9.50 per square foot. Smaller patches sit at the low end, while costs climb quickly when replacement boards, hidden sheathing damage, or a larger area are involved.
Additionally, once the wall is open, it’s common for the damaged section to be bigger than it looked from the outside, which means the board count, and cost, can climb fast. Luckily, some repairs are simple enough for a confident DIYer so long as you know basic siding costs.
However, other projects are better left to a professional. Just be ready to call a pro if:
- The repair is high off the ground or involves more than a couple of boards
- Opening the wall reveals soft framing or sheathing
- You see signs of termite activity, which requires a pest professional before siding work continues
- The home was built before 1978 and the work involves scraping, sanding, or cutting through painted surfaces
How K.P. LaMarco Approaches Siding Work
In our experience, the success of any siding project comes down to understanding the wall before the work begins. So we look at where the moisture entered, how far the damage reached, and what needs to be rebuilt so the wall stays protected long‑term.
Once that’s clear, the focus shifts to installation, such as matching the existing profile, tying everything in properly, and sealing the wall so it performs through every season. The following projects highlight how that approach comes together on real homes:
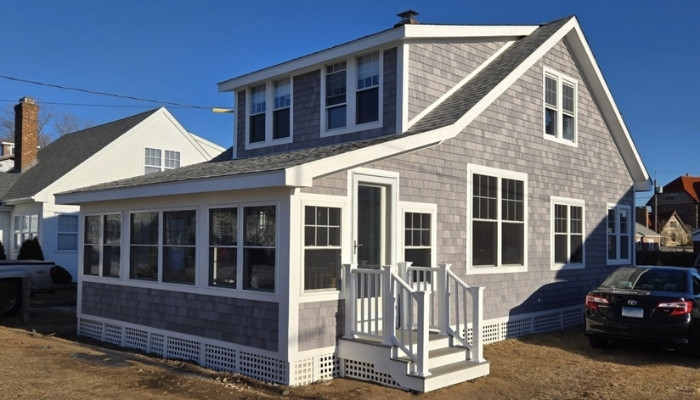
Siding Installation – Pine Orchard, CT
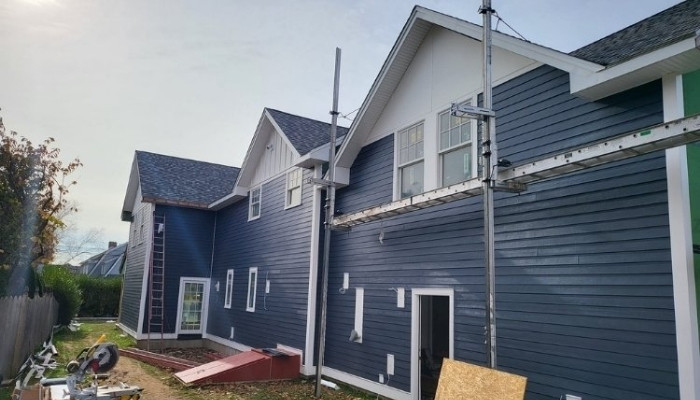
This project updated the home’s exterior with new, high-quality siding.
The materials were chosen to improve curb appeal, energy efficiency, and long-term protection, while the installation focused on creating a clean, durable surface built to handle the elements. The old siding was carefully removed and replaced to give the home a sleeker, more refreshed look.
The final result is a durable exterior upgrade that improves the home’s appearance and helps protect it for years to come.
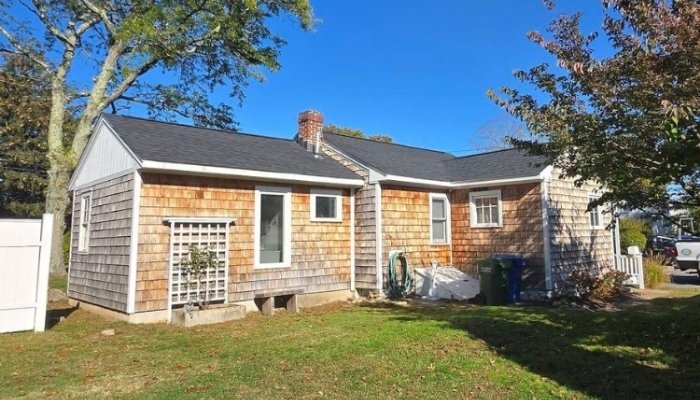
James Hardie Siding Installation – Guilford, CT
This next project updated the home with new James Hardie siding, giving the exterior a cleaner, more modern look. The fiber cement material was chosen for its strength, low maintenance, and ability to handle New England weather.
The siding was installed with care to create straight lines and a tight, protective surface. The upgrade improves curb appeal while offering long‑term resistance to moisture, wind, and pests.
The finished exterior looks sharp and provides reliable protection for years to come.
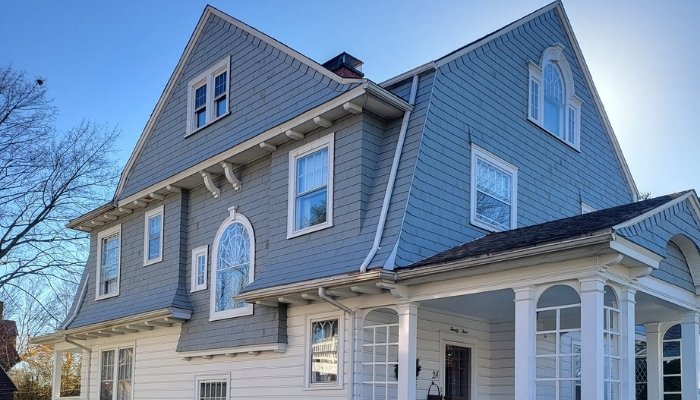
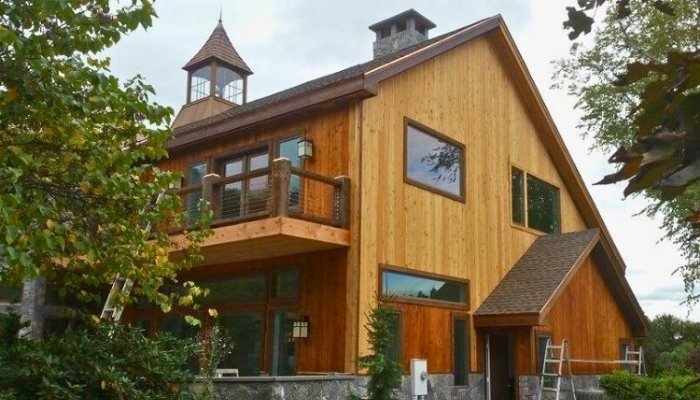
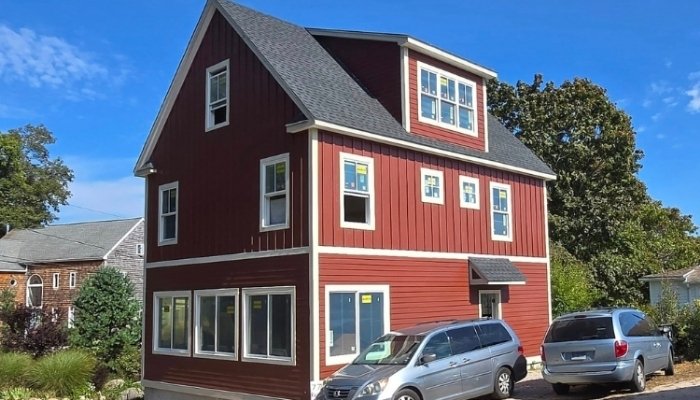
Cedar Siding Installation – Milford, CT

This last project gave the home a fresh exterior using new cedar siding. Cedar was selected for its natural look and strong weather resistance, so the upgrade would improve both appearance and protection.
The siding was installed carefully for a precise fit and proper weatherproofing, creating a warm, rustic exterior that’s built to last.
What Should You Do Next If Your Wood Siding Is Damaged?
Many siding repairs fail in the long-term because the early steps were rushed or skipped. Ensure you work through the problem in this order before patching or pulling boards:
- Check for pre‑1978 paint: Disturbing old paint may require lead‑safe work practices.
- Find the moisture source: A damaged board is usually a symptom. Look for failed caulk, bad flashing, gutter leaks, or drainage issues.
- Probe the area: Test the board and the surrounding sections to see whether it’s a surface repair or a replacement, and whether the sheathing needs attention.
- Make the repair: Patch small cracks, prime, and paint. Replace any board that’s soft, warped, or no longer sound, and seal it so water can’t return.
- Know when to call a pro: Hidden sheathing damage, termite activity, repeated moisture, or a siding profile that’s hard to match are signs the job may be beyond DIY.
And always remember, catching a problem early is almost always less expensive than discovering it after the wall is open.
Free Guide for Homeowners
2026 SIDING MATERIAL GUIDE
Learn how smart homeowners balance aesthetics, durability, and budget to choose the perfect exterior shield that withstands New England’s toughest weather.
Is Your Wood Siding Worth Repairing or Time to Replace?
Deciding whether to repair or replace wood siding usually comes down to what you find early on. Small cracks can be patched, but soft or crumbling boards (or moisture that keeps returning) point toward replacement. And no repair lasts if the underlying moisture issue is still active.
If your siding is showing signs of rot or repeated damage, the K.P. LaMarco team can help you sort out the right next step. Request a free estimate before the issue has a chance to grow.